MediTPC
Design
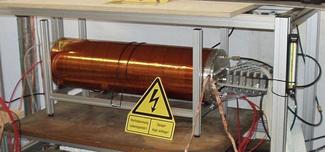
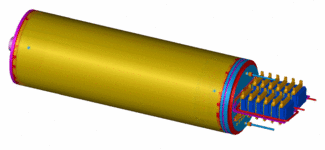
The MediTPC prototype (see Figure 1) has been designed and is used for measurements in a test magnet which can produce magnetic fields up to 5 T. It has a diameter of 27 cm and a length of approximately 80 cm. The sensitive gas volume has a length of around 66 cm.
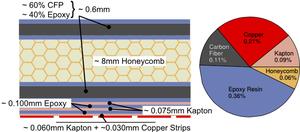
The field cage is built out of a composite material (CFP and Nomex®) and on the inside it is shielded by Kapton® layers. The innermost Kapton layer has printed-on copper strips that are connected via resistors to divide down the voltage from the cathode to the anode and ensure a homogeneous field in the drift volume. Figure 2 shows a cut through the field cage wall and a diagram of the material budget (percentage of radiation length X0).
Gas Amplification and Readout
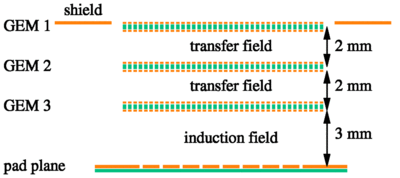
A bit more than 10 cm at the anode end of the MediTPC are used by the gas amplification system and the readout system. For the gas amplification, we use a triple GEM structure (Figure 3) built of standard CERN GEMs with a size of 100 × 100 mm². The transfer gaps between the GEMs are 2 mm wide (transfer fields: 1500 V) and the induction gap between the last GEM and the readout plane 3 mm (induction field: 3000 V). The potentials between the GEM surfaces vary between about 320 to 335 V, depending on the used gas and the magnetic field.
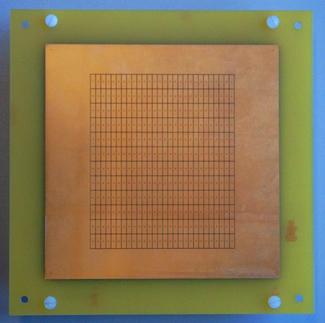
The original readout structure consists of 192 channels. The readout plane, on which the electrons are collected after the amplification in the GEMs, is segmented in pads (24 columns and 8 rows, see Figure 4a). The pads have a size of 2x6 mm² and the gap between two pads is 0.2 mm wide in both directions. The 12 necessary ALEPH preamplifiers (16 channels per preamplifier) are placed in a tower which is mounted on the endplate (visible in Figure 1 on the right side).
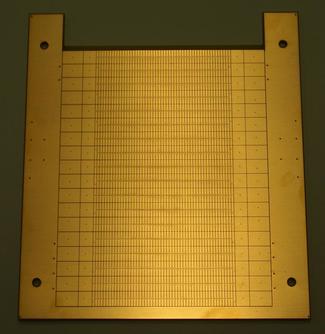
Resolution studies with the mentioned pad plane indicated, that the pad structures are too large to meet the resolution goals. Therefore a new readout structure, with up to 768 channels that can be read out, has been built up and is now in use (see Figure 4b). The pad pitch of the new pad plane is 1.27x6.985 mm² (gap: 0.15 in both directions) and 48 columns and up to 14 rows will be read out (the number of sensitive rows is limited by the size of the GEM structure). Since for this number of channels more preamplifiers are needed, a new holding structure -consisting of a tray with a connected box- has been build to host them (shown in Figure 5 on the right side).
Laser System
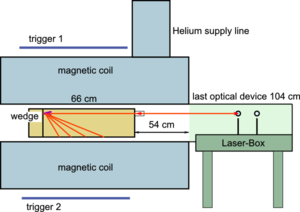
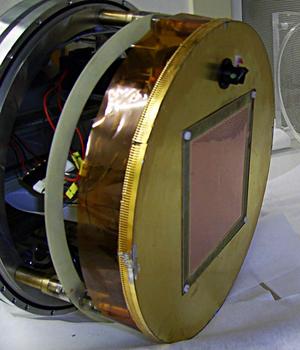
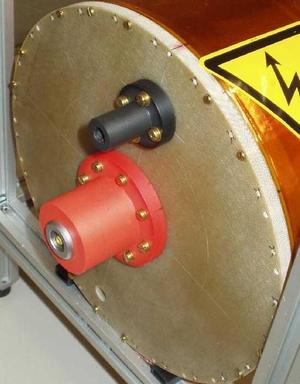
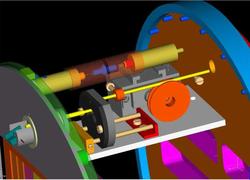
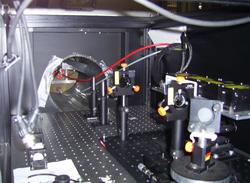
Another modification of the MediTPC is the integration of a laser system to produce well known tracks, for example to examine the two-track resolution. To do so, a window has been inserted at the cathode to shoot in the laser beam. At the anode side, a wedge has been mounted at the shield above the GEMs to divide the beam and reflect the two resulting beams inside the sensitive volume. This wedge is mounted on a servo motor and can be steered from the outside. A sketch of the MediTPC inside the magnet is shown in Figure 6a to illustrate the principle. Figure 6b and c show pictures of the modification made at the anode and the cathode.
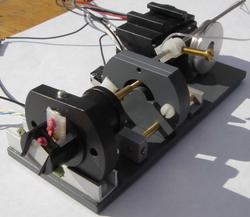
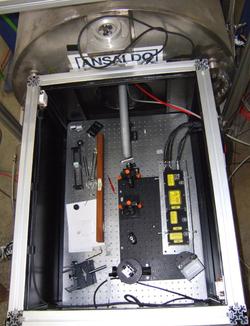
In Figure 7a and b you can see a CAD drawing and a photo of the wedge steering mechanism. Figure 7c and d show the box with the laser installed at the magnet for the first measurements runs.


